|
|
|
Installation Guide of Night Vision Waterproof Pole Camera |
|
|
|
|
|
|
|
|
Click pictures to view the enlarged version... |
|
|
|
|
|
|
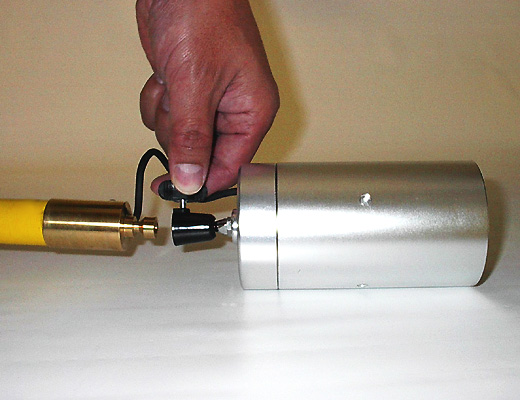
1. Unscrew the knob on the female joint, which built-on at the back of the camera and insert the male joint, which built-on at the end of the retractable pole to the female joint, then screw tighten the knob back to fix them firmly together. |
|
|
|
|
|
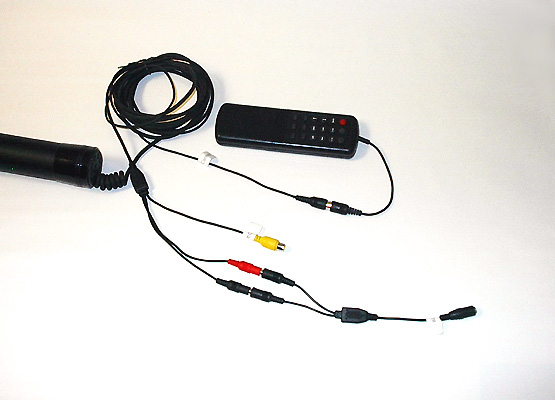
2.
Connect the cable as Red
(Camera Power) & Black (LED Power) to
the included DC-12V power source via
2-way
Power Splitter
that included, Yellow
BNC
Jack
(Video) to Video input on a recording
or monitoring device, and Black
BNC
Jack
to the included Remote Control Unit.
|
|
|
|
|
|
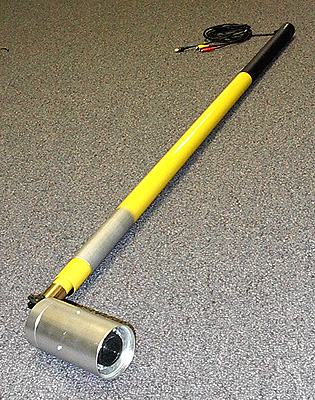
3. Pull out from the most inner layer of the pole which the camera mount is built-on and expand the pole length as it desired. |
|
|
|
|
|
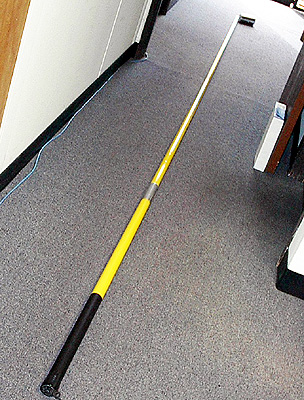
4.
Adjust viewing angle of the camera
looking at the connected display
monitor and ask for help on correcting the camera-viewing angle if
the monitor location is
out of viewable range from the camera.
|
|
|
|
|
|
|
|
|
|
|
Home | About Us | Contact Us | Tech-Support | Product | Directory |
|
|
|
|
|
|
|